
Part 2: Kawasaki KLX 250S clutch inspection and reassembly!
Here are some (more on that in a bit) of the parts you will need to put your clutch back together, starting with the upper left and going clockwise we have:
Gasket, Clutch 11060-1325
Gasket, Clutch Cover 11061-0923
Plate-Friction (x7) 13088-0042
Plate-Clutch 13089-1085
O-Ring 670B1506
Washer (x2) 11009-1344
Gasket, Pump Cover 11060-1328

Measure your clutch springs. Standard length is 3.54cm. Service limit is 3.39cm. As you can see, my springs are just below the minimum. And of course, I didn’t order new ones and as luck would have it they are out of stock until next week… ![]()

Add these to your parts list: SPRING (x6) 92145-0637
You will also want to measure the thickness of your clutch plate assembly:

Standard thickness is 3.03-3.09cm so my assembly is just a bit below the minimum.
Measure your friction plates (measure at several points on every plate as they do not always wear evenly):
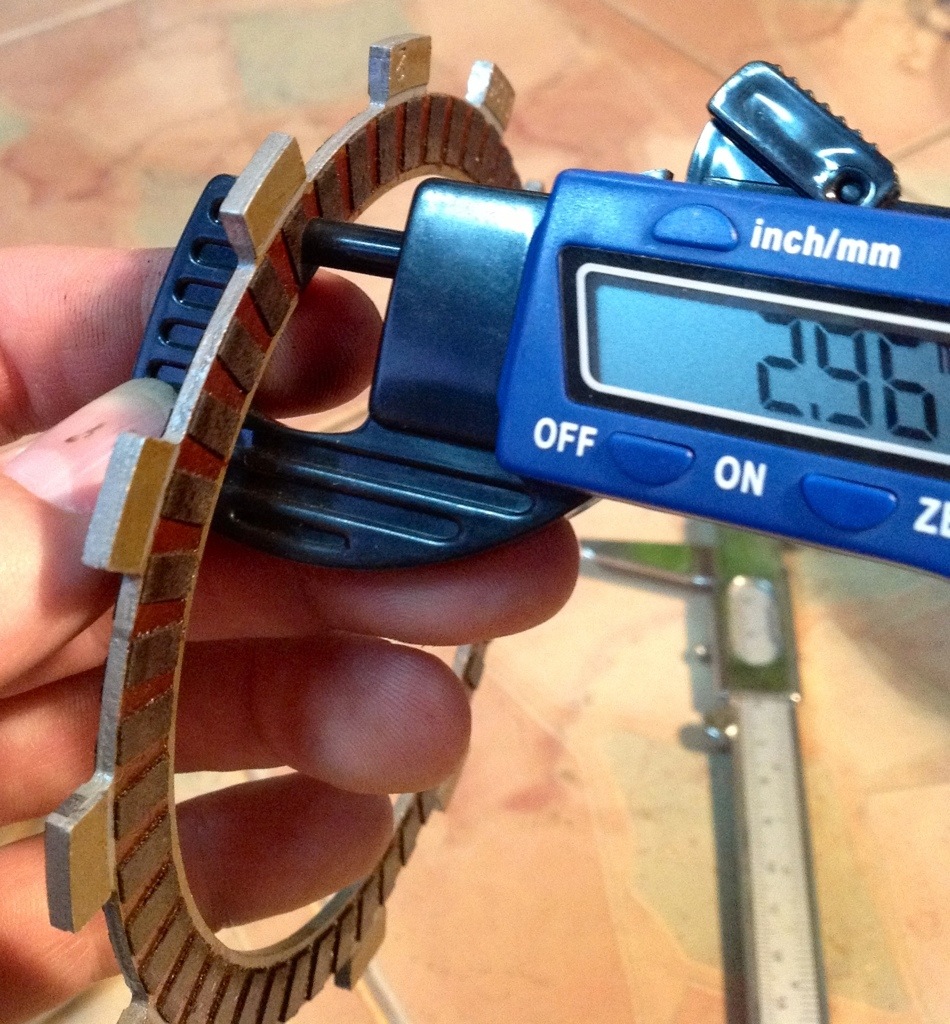
Standard thickness is 2.92-3.08mm, so these are still within the service limit, but I’ll replace them all the same as they are very cheap.
These friction plates are still within spec. Free to anyone who wants them ![]()

Thickness of new friction plates:

Visually inspect the 6 steel clutch plates for signs of overheating (discoloration), warp and wear:

There are 6 steel plates, 1 is smooth and 5 are not. The smooth plate goes onto the clutch hub FIRST.
Remove and inspect the judder spring seat and judder spring. Reinstall as shown, making sure you have the judder spring in the correct orientation:

Reassembly- apply oil to all dry plates to avoid clutch plate seizure.

Install 1 friction plate onto the clutch hub, followed by the SMOOTH steel clutch plate:

Then alternate friction plates with steel plates:

7 friction plates and 6 steel plates installed:

Install the clutch wheel:

Next step is to install the springs, but since mine are out of spec this is as far as we go until I get new springs next week.

To be continued!! ![]()


